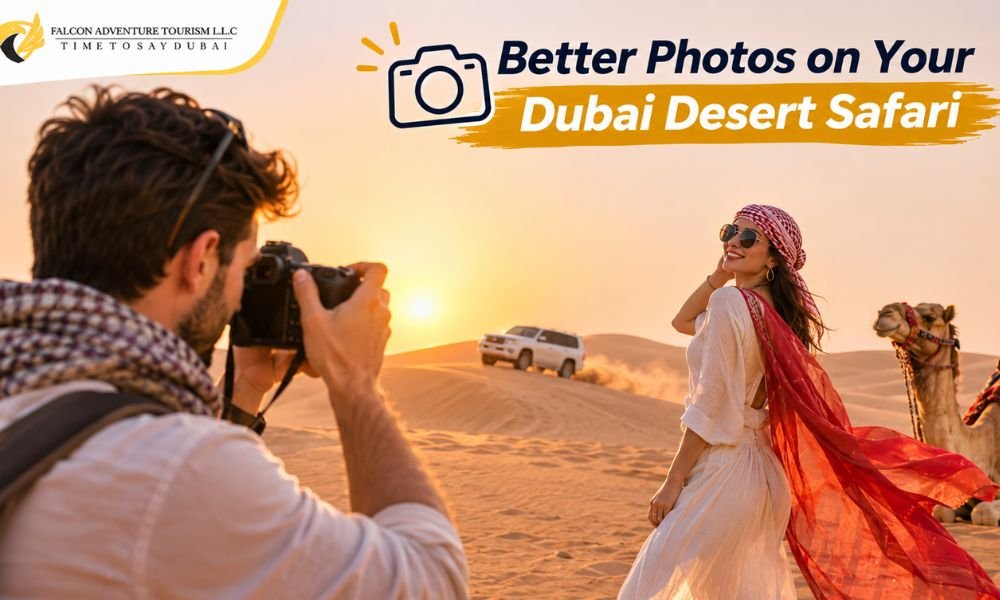
Great desert photos start with where you stand and how the light falls. To take better photos during a Dubai desert safari, shoot in low morning or evening light, use dune ridges to guide the eye, keep the horizon level, and adjust the brightness before taking the shot.
You can do this with a phone or a camera. For desert safari photography in Dubai, a planned photo stop and a clean lens are often more useful than extra gear.
1. Photograph the Dunes When the Sun Is Low
Aim for shortly after sunrise or before sunset. Low sunlight casts shadows across the sand, making ridges and ripples easier to see. Midday light often gives dunes a flatter look and creates stronger shadows on faces.
For desert sunset photography, start before the sun reaches the horizon. You want time to choose your position and photograph the changing light, rather than rushing through one shot.
Turn sideways to the sun for clear dune shapes. Then turn towards the sunset for a sky-focused photo or silhouette. You do not need the sun in every frame to capture warm evening light.
If your safari schedule allows it, take a few more photos just after sunset. The softer light can give the same dunes a calmer look. Canon Canada.
2. Choose a Clear Dune View Before Taking Photos
Good desert safari photo spots have a clear background, visible dune shapes and somewhere suitable to stand. The highest dune is not always the best choice.
At the guide’s designated stop, look for:
- An unbroken ridge: Its curve gives the photo a clear shape.
- Clean sand: Take your wide shots before walking across the foreground.
- Layers of dunes: Overlapping ridges help show distance.
- A simple background: Move a little to keep parked cars, bins and groups outside the frame.
Undisturbed sand helps preserve the lines and patterns that make dune photos interesting. You can ask your guide which nearby positions are suitable. Stay clear of driving routes and use the planned stops rather than trying to take photos while the vehicle is bouncing over dunes.
3. Use Sand Ripples and Ridges to Add Depth
Strong desert landscape photography gives the viewer something to follow. Instead of pointing at a wide stretch of sand, build the frame around a curve, shadow or ripple.
Place a Dune Curve Across the Frame
Position a ridge so it leads from a lower corner towards the distance. This draws the eye through the image and makes the scene feel less flat.
Keep the horizon straight using your phone’s grid or camera level. If the sand has more detail than the sky, give it more space in the frame. If the clouds are the main feature, include more sky.
Take One Wide Shot and One Closer View
Use a wide view to show the setting, then zoom in optically or reframe to isolate a few ridges. Removing empty sky and nearby distractions can reveal patterns you missed at first.
For more interesting desert safari landscapes, lower the camera slightly to include foreground ripples. Avoid going so low that the nearest dune blocks the whole view.
4. Adjust Brightness and Focus on Your Phone
A phone can capture detailed dunes, but automatic exposure may make the bright sky too pale or leave faces too dark. Check the preview before pressing the shutter.
Tap Your Subject, Then Adjust the Exposure
Tap the person or dune you want sharp. Use the brightness slider, if your camera app offers one, until the important detail looks right.
For a sunset, lower brightness slightly if the coloured sky looks washed out. For a portrait, check the face too: keeping the sky bright enough to see does not help if your subject disappears into shadow.
Avoid lowering every image by the same amount. Bright sand can sometimes look too dull, so adjust each scene on its own.
Use the Main Lens and Hold Still
Start with your phone’s main camera, often marked 1×. Avoid heavy digital zoom, which can reduce detail.
Hold the phone with both hands and pause as you press the shutter. Use burst mode for someone walking, where available, and choose the sharpest frame later.
Wipe away fingerprints before the photo stop. A greasy lens can turn sunset light into a hazy streak.
5. Set Your Camera for the Subject You Are Photographing
These desert safari camera tips are starting points for a DSLR or mirrorless camera. Take a test photo, check sharpness and brightness, then adjust for the light.
| Subject | Suggested starting point | What to check |
| Still dunes in daylight | Aperture priority, f/8–f/11, ISO 100–200 | Keep shutter speed fast enough for your lens when handheld |
| A posed portrait | f/4–f/5.6, around 1/250 second or faster | Focus on the nearest eye |
| A walking person or camel | Around 1/500 second or faster, continuous autofocus | Raise ISO if the image is too dark |
| Dunes after sunset | f/8, low ISO and a tripod if permitted | Use a timer to reduce shake |
For landscapes, f/8–f/11 is a useful starting range for keeping more of the scene sharp. Canon Australia As the light fades, increase ISO when needed rather than accepting blur from a shutter speed that is too slow.
Shoot RAW if your camera supports it and you plan to edit. It gives you more room to adjust brightness and colour, though it cannot restore detail that was never captured.
6. Light Faces From the Front or Side for Better Portraits
Place your subject so the low sun falls from the front or at an angle. This makes facial detail easier to capture than putting a bright sunset directly behind them.
Keep the background simple and leave space around the person. A full-length figure beside a dune can show the scale of the landscape better than a tight selfie.
For a silhouette, do the opposite: place the person against a bright section of sky and reduce exposure until their outline is dark. Ask them to turn slightly sideways and keep their arms away from their body so the shape reads clearly.
Take both a portrait and a silhouette if time allows. They need different exposure choices, so check each result.
7. Keep Sand Off the Lens and Edit With Restraint
Store your camera in a closed bag between stops. Avoid changing lenses in blowing sand, and keep phones and cameras off the ground.
If grit lands on the lens, remove loose particles with a suitable hand blower or soft lens brush before using a lens cloth. Rubbing sand across the glass can scratch it.
When editing, straighten the horizon first. Then make small changes to brightness, highlights and shadows. Keep the sand believable: too much warmth or saturation can turn natural dunes into solid orange patches.
These Dubai desert photography tips work best when the original photo is sharp and well framed. Editing should refine that image.
FAQs About Taking Photos on a Dubai Desert Safari
These quick fixes address common problems at a safari photo stop.
Why Do My Desert Photos Look Flat?
The light may be too high or directly behind you, leaving few visible shadows. Try photographing across the light and include a ridge or foreground pattern to show depth.
Should I Use Flash for Sunset Portraits?
Start without it and position the person in softer front or side light. A small fill flash can help with a backlit face at close range, but a phone flash will not light distant dunes.
Do I Need a Tripod During a Desert Safari?
Usually not for daylight photos. It becomes useful for still scenes after sunset, when shutter speeds slow down. Check whether the stop allows enough time and space to set one up.
How Can I Photograph Camels Without Blurry Results?
Use a fast shutter speed on a camera or burst mode on a phone. Focus on the animal, leave space in its direction of movement and photograph from the position agreed with the handler.
Give Yourself Time for the Photos You Want
Falcon Tourism’s evening desert safari in Dubai lists a sunset photo stop. If photos are a priority, ask about the planned photo stop before booking so you can prepare for the timing.
At the stop, take three frames first: a wide dune view, a closer sand pattern, and a portrait. Then experiment with the light.